
Creating a perfect paint job involves the necessary steps and techniques. Among these, one essential task amateur painters often overlook is wall taping. Done correctly, wall taping allows you to create sharp, clean lines, protect surfaces from paint drips, and maintain a professional aesthetic. The process of taping may not seem complicated, but perfecting it requires patience, precision, and knowledge.
Gathering the Necessary Materials
Before you can start, gathering the appropriate materials is important. For wall taping, the quality of your tape matters. We recommend 3M’s blue painter’s tape for its superior stickiness and clean removal properties. It’s also useful to have a variety of widths for different purposes. It is equally crucial to be patient, avoid applying tape on uncured paint, and wait 1-2 days after painting before applying tape on the painted surface.
Application Process: The Key to Perfection
The application process is all about precision and method. Instead of applying long lengths of tape in one go, break it into manageable sections (2-3 feet). This minimizes the potential for creases or misalignments. Use a level to draw a guideline if you create a line where two colors meet on a flat surface.
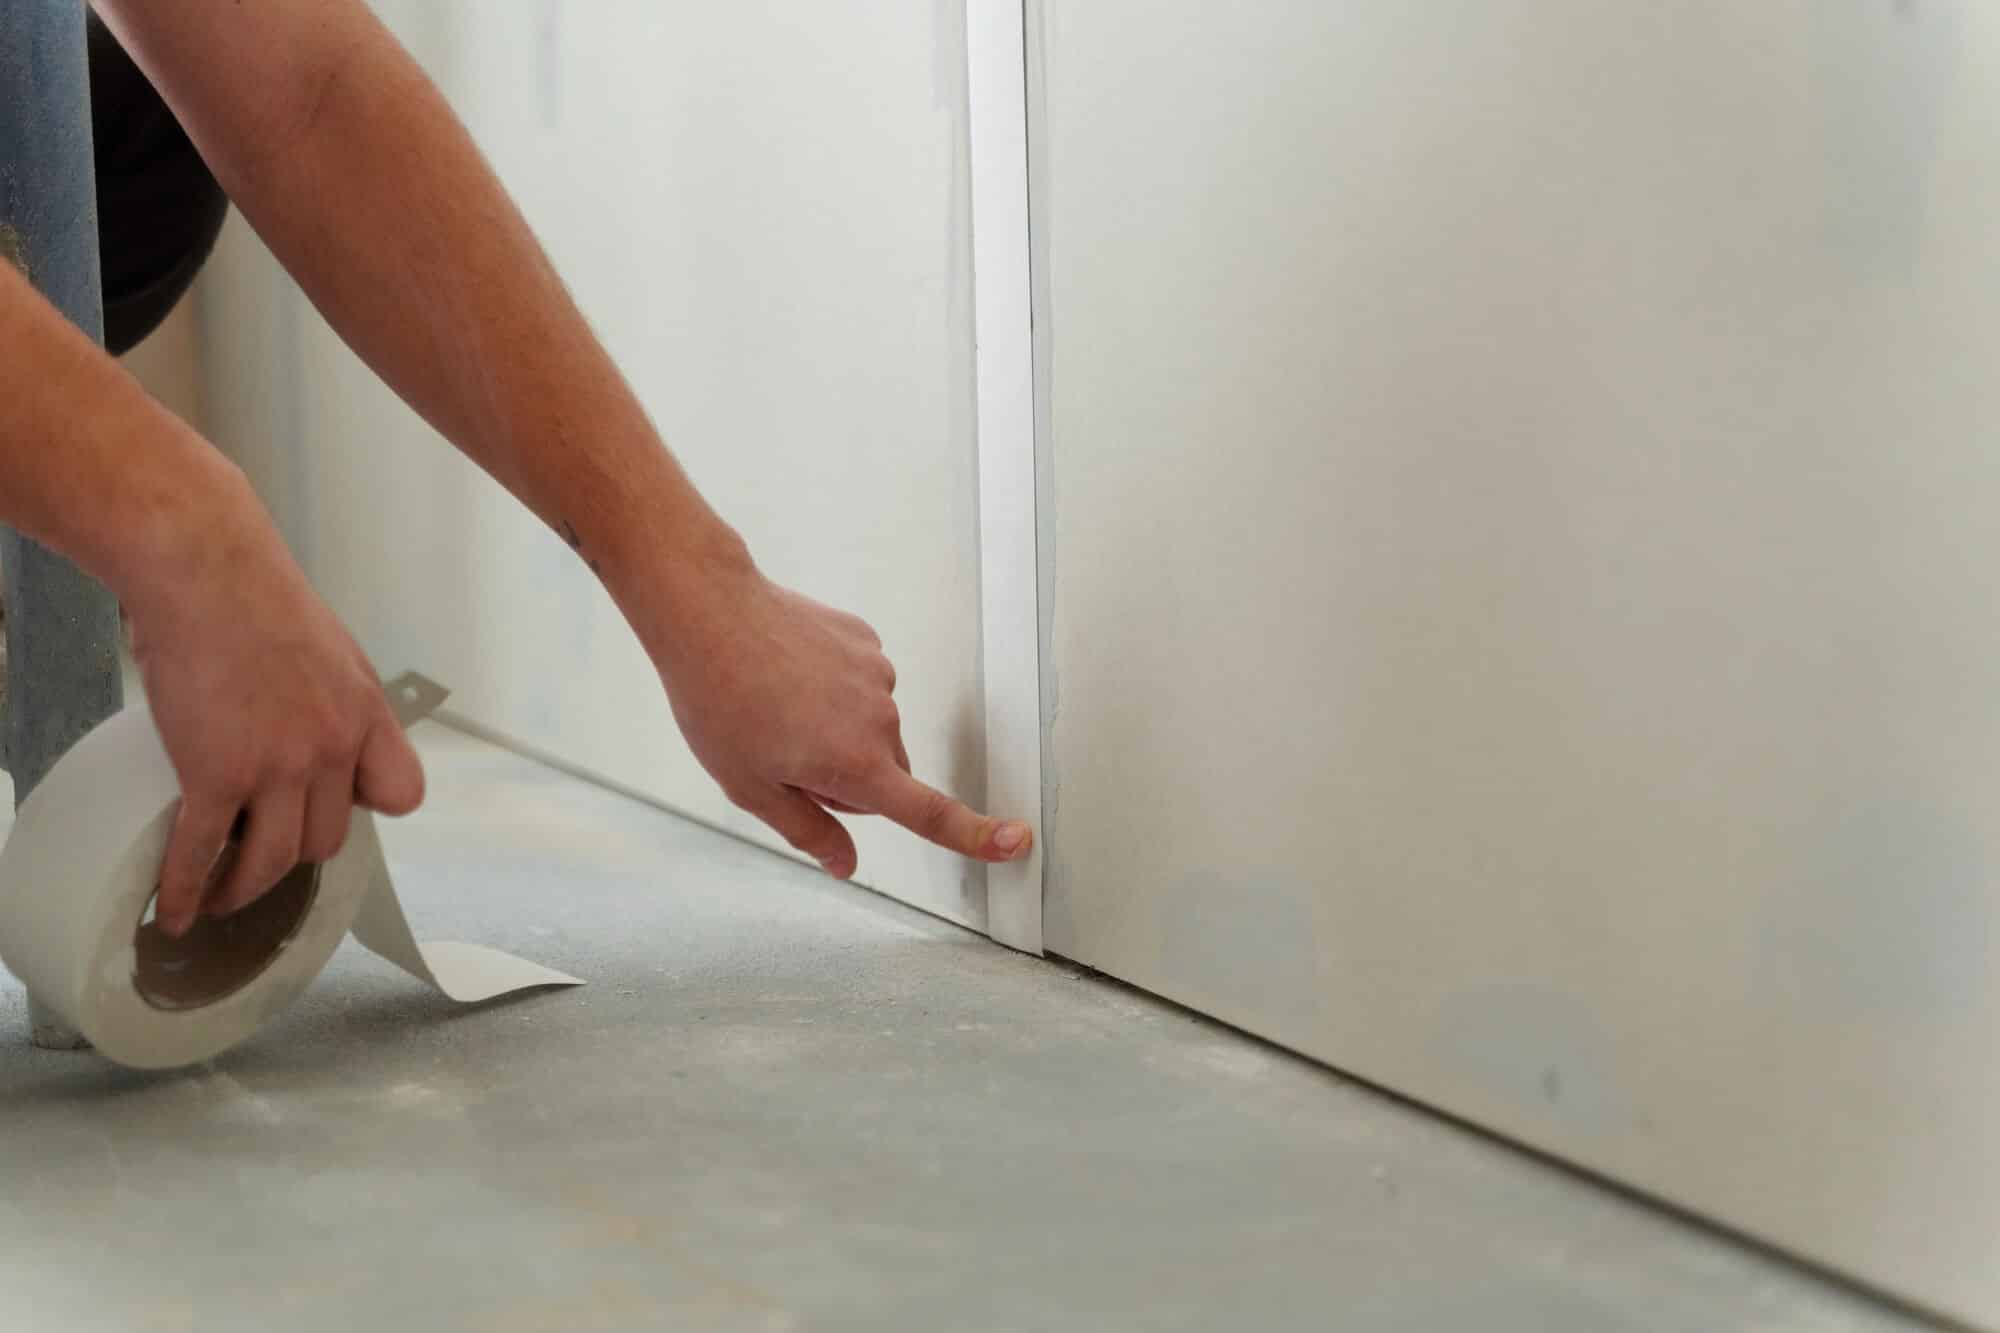
Proper Taping Technique
- Start by lining up one end of your tape piece to the edge of the surface you’re working on. Pull the other end taught, but be careful not to stretch it too tight.
- Lightly press the tape into place, running from the stuck end toward the free end.
- Once the tape is in the right place, run your finger down again, firmly sealing the border where the paint will meet it, leaving the non-painted edge loose.
Where to Tape
It’s not just about how and where you tape. Be meticulous in your taping application, ensuring it is correctly placed wherever two colors meet, such as corners, door and window trims, baseboards, and moldings. Also, remember to cover surfaces that should remain paint-free, like door hinges and window glass.
The Final Step: Removing the Tape
After completing your painting, you must remove the tape. Timing is crucial here; remove your tape too early or too late, and you risk damaging your paint job. Aim to remove the tape within 30 minutes to 6 hours after finishing your last coat. If you’re applying multiple coats, it’s best to apply and remove the tape for each layer.
If you decide to embark on this painting journey by yourself, we wish you the best of luck. But remember, if you need professional assistance, our team at Weiler Painting is always ready to help. With our expert painting services, we’ll ensure a perfect finish without the hassle of DIY.